
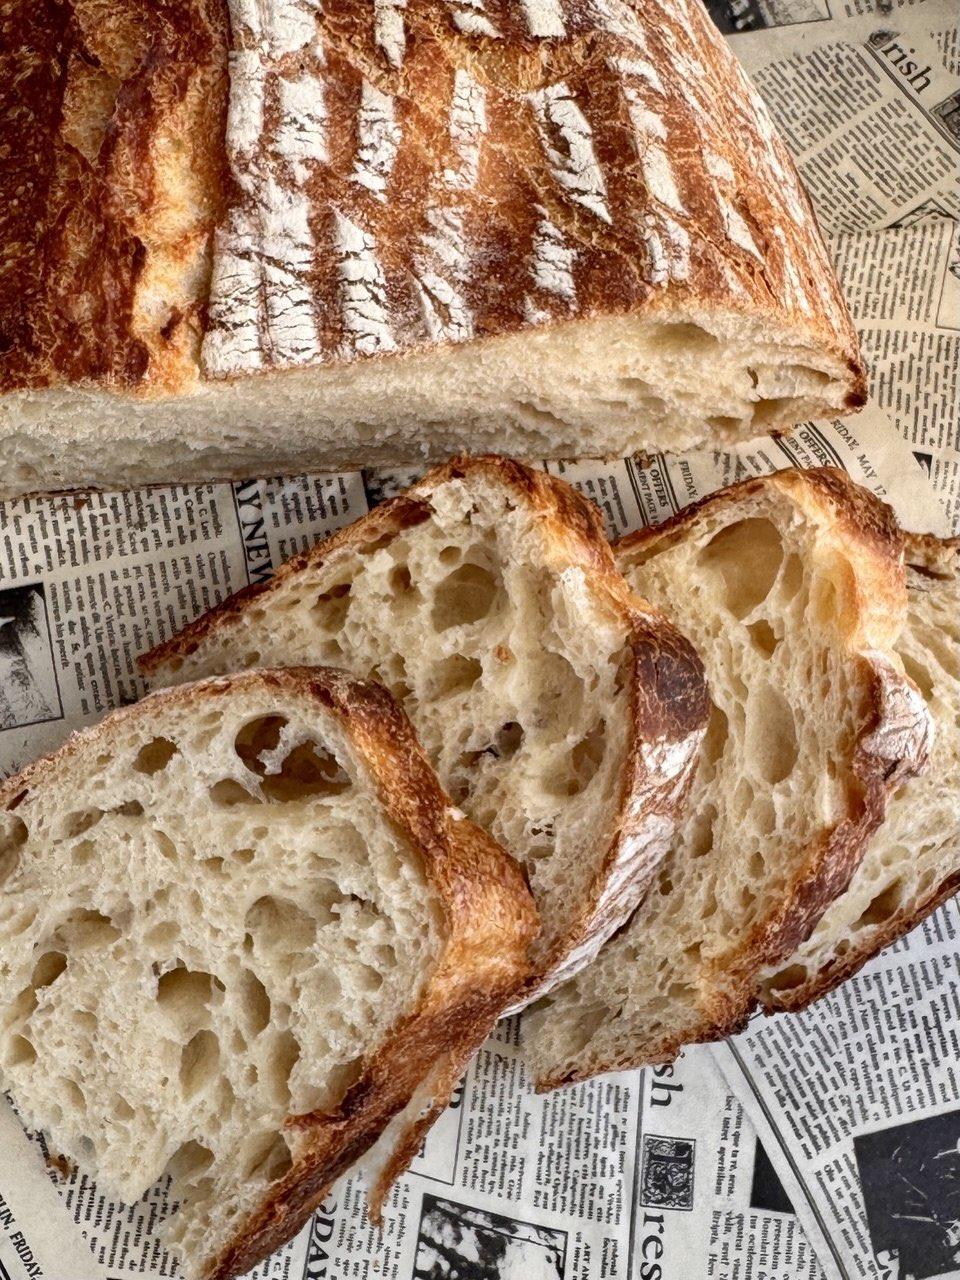
If you’ve always wanted to bake homemade sourdough bread but felt intimidated by the process, this beginner-friendly sourdough recipe is a great place to start.
With just four basic ingredients—flour, water, salt, and active sourdough starter—you can make a beautiful loaf with a crisp, golden crust and a soft, airy crumb. There’s no kneading required, and the stretch-and-fold method does the work of building strength in the dough.
🛒 Ingredients
- 100 g active sourdough starter, bubbly and ready to use
- 375 g warm water
- 500 g bread flour
- 10 g salt
👩🍳 Instructions
1. Mix the Dough
In a large bowl, stir the active sourdough starter into the warm water until mostly dissolved.
Add the bread flour and salt. Mix with your hand or a dough scraper until no dry flour remains.
The dough will be sticky and somewhat rough at this stage—don’t worry. That’s normal.
2. Rest the Dough
Cover the bowl with a clean towel or reusable cover and let the dough rest for 30 minutes.
This resting period allows the flour to absorb the water and helps gluten begin developing naturally.
3. Stretch and Fold
Over the next 2–3 hours, perform 3–4 sets of stretch-and-folds.
To do one set, grab one side of the dough, gently stretch it upward, and fold it over the center. Rotate the bowl and repeat on all four sides.
As you repeat this process, the dough should become smoother, stronger, and easier to handle.
4. Bulk Fermentation
Cover the bowl and let the dough ferment at room temperature until it becomes noticeably larger, airy, and bubbly.
This can take approximately 4–6 hours, but the actual time depends heavily on your starter strength and room temperature.
Don’t rely only on the clock. Look for a dough that has risen significantly and feels light and puffy.
5. Shape the Loaf
Lightly flour your work surface and gently turn the dough onto it.
Shape the dough into a round or oval loaf by folding the edges toward the center and creating surface tension as you shape it.
Place the loaf seam-side up into a well-floured proofing basket or a bowl lined with a lightly floured kitchen towel.
6. Final Proof
Cover the dough and let it proof for 2–4 hours at room temperature.
For more developed flavor, place it in the refrigerator and let it proof overnight.
Cold-proofing also makes the dough easier to score and transfer to the Dutch oven.
7. Preheat the Oven
Place a Dutch oven or heavy oven-safe pot with a lid inside your oven.
Preheat to 475°F (245°C) and allow the pot to become thoroughly hot.
8. Bake the Bread
Carefully transfer the dough into the hot Dutch oven, placing it seam-side down.
Use a sharp bread lame or razor blade to score the top. This gives the bread a controlled place to expand during baking.
Cover with the lid and bake for 20 minutes.
Remove the lid and continue baking for another 20–25 minutes, or until the loaf is deeply golden brown and sounds hollow when tapped.
9. Cool Before Slicing
Carefully remove the bread from the Dutch oven and place it on a wire rack.
Let it cool for at least 1 hour before slicing.
As tempting as it may be to cut into it immediately, cooling allows the interior crumb to finish setting and helps prevent a gummy texture.
⭐ Beginner Sourdough Tips
Use an active starter: Your starter should be bubbly, lively, and recently fed. A weak starter can result in a slow or dense loaf.
Watch the dough, not just the clock: Fermentation times vary with temperature. A warm kitchen can speed things up, while a cool kitchen can slow everything down.
Don’t panic about sticky dough: Sourdough dough can feel messy at first. With several stretch-and-folds, it should become noticeably stronger and smoother.
Give it enough time: Under-fermentation is one of the most common reasons beginner loaves turn out dense.
Use a kitchen scale: Measuring ingredients by weight gives much more consistent results, especially with sourdough.
🥖 How to Know When It’s Ready
During bulk fermentation, look for:
- A noticeable increase in volume
- Bubbles around the sides or surface
- A lighter, airier appearance
- Dough that feels elastic and slightly jiggly
Your dough doesn’t necessarily need to literally double in size. Depending on your flour, temperature, and starter, a rise of around 50–75% can be enough.
🍞 What Is a Sourdough Starter?
A sourdough starter is simply a mixture of flour and water that has been naturally fermented.
Wild yeast and beneficial bacteria grow in the mixture, creating the fermentation needed to make bread rise. When the starter is active and bubbly, it can be used in place of commercial yeast.
🧊 Storing Your Homemade Bread
Once completely cooled, store the loaf in a paper bag, bread box, or loosely covered container at room temperature.
For the best texture, enjoy it within a few days. If you won’t eat it quickly, slice the loaf and freeze the slices in a freezer-safe bag.
❤️ Final Thoughts
Making sourdough bread takes a little patience, but the process becomes much easier once you learn to recognize how the dough should look and feel.
This simple recipe is a wonderful starting point for beginners. With just flour, water, salt, and an active starter, you can create a crusty, flavorful loaf right in your own kitchen. 🍞🤍