
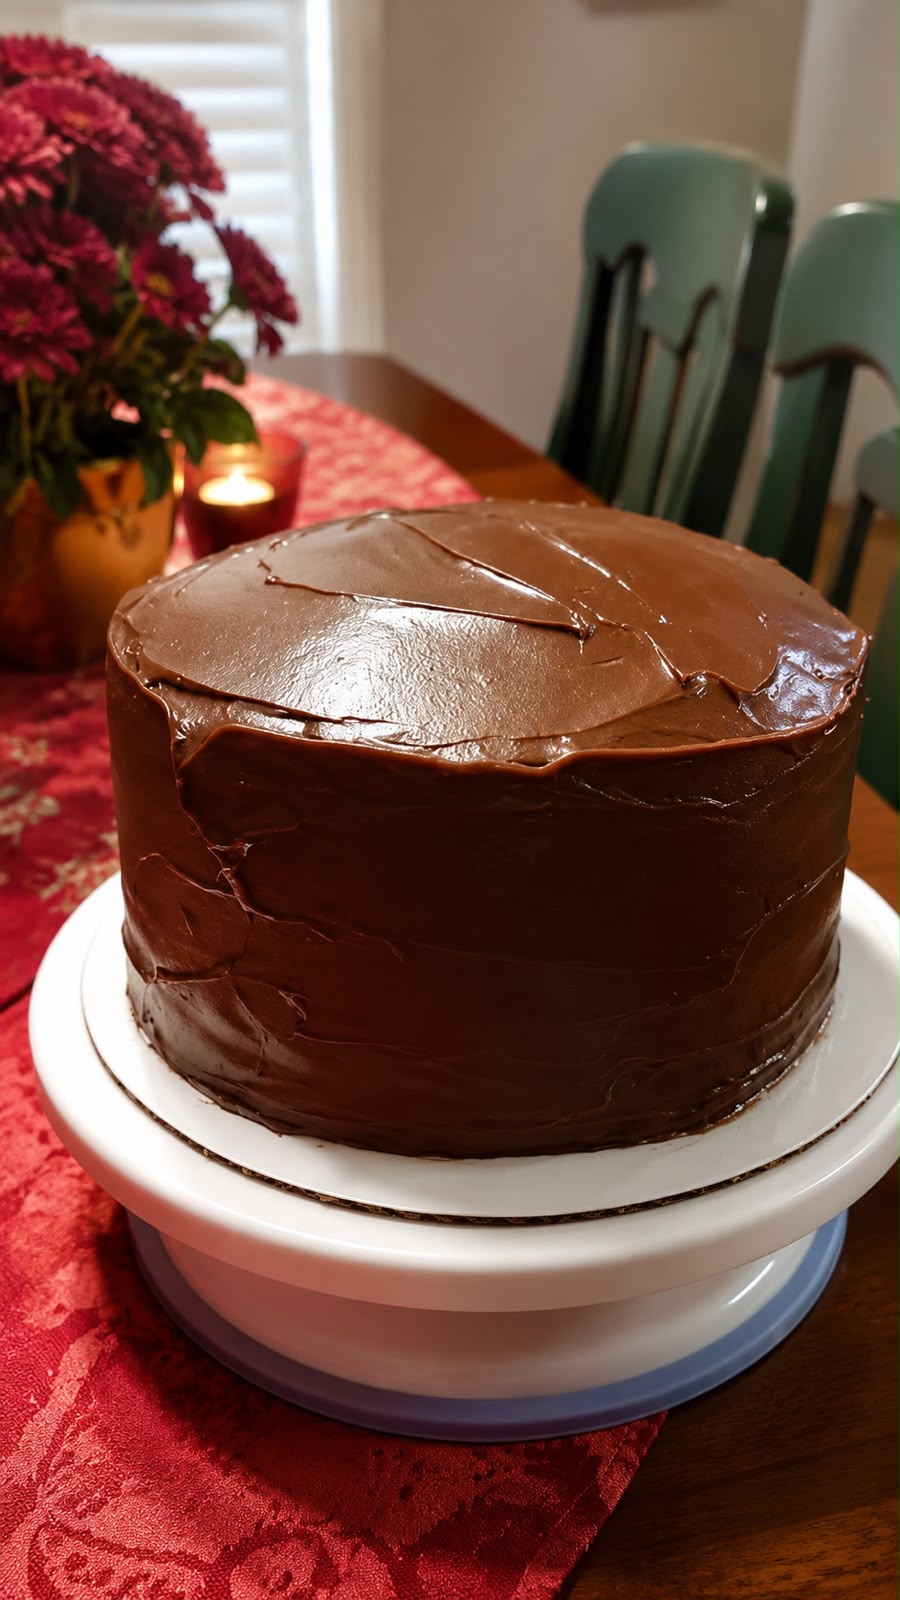
If you love the kind of chocolate cake that tastes like it came straight from Grandma’s kitchen, this old-fashioned 14-layer chocolate cake is one to save. Each layer is baked thin and tender, then stacked with a rich chocolate frosting that is cooked on the stovetop before being cooled and spread between the layers.
The result is a tall, impressive cake with plenty of chocolate frosting in every bite. It’s a traditional Southern-style dessert that takes some time and patience, but the finished cake is absolutely worth it.
Why You’ll Love This Old-Fashioned Chocolate Layer Cake
- 14 thin, tender cake layers make every slice special.
- The chocolate frosting is cooked on the stovetop, giving it that classic old-fashioned flavor.
- The frosting is spread generously between every layer and over the top and sides.
- You don’t need special cake pans—any 9-inch pans will work.
- It’s perfect for holidays, birthdays, family gatherings, and Sunday dinners.
- The recipe has that nostalgic, homemade taste you just can’t get from a boxed cake.
Ingredients
For the Chocolate Cake
- 1 cup shortening
- 2 cups sugar
- 4 large eggs
- 3 cups plain flour
- 2 tablespoons baking powder
- 2 ½ cups whole milk, also called sweet milk
- 1 tablespoon vanilla flavoring
- 1 tablespoon butter flavoring
For the Cooked Chocolate Frosting
- 3 cups sugar
- 6 tablespoons cocoa powder
- 1 cup butter
- 1 can evaporated milk
How to Make a 14-Layer Chocolate Cake
1. Make the Frosting First
The frosting needs time to cool before you assemble the cake, so it’s best to prepare it first.
Melt the butter in a 4-quart saucepan over medium heat.
Add the cocoa, sugar, and evaporated milk. Stir well to combine.
Bring the mixture to a rolling boil. Once boiling, reduce the heat and cook for 2 minutes, stirring constantly.
Remove the frosting from the heat and set it aside to cool.
Don’t worry if the frosting looks thin at this stage. That’s how it’s supposed to be. It will be spread between the thin cake layers and over the finished cake.
2. Prepare the Cake Batter
Preheat your oven to 375°F.
Sift the flour and baking powder together and set aside.
In a large mixing bowl, cream the shortening and sugar together until light and fluffy.
Add the eggs one at a time, beating well after each addition.
Add the flour mixture alternately with the whole milk, mixing well after each addition.
Stir in the vanilla flavoring and butter flavoring.
Your batter is now ready for the thin layers.
3. Prepare the Cake Pans
You can use any 9-inch cake pans you have available.
Grease the pans with shortening and sprinkle them lightly with flour. A baking spray such as Baker’s Joy can also be used.
For the best results, make sure there isn’t a buildup of baked-on batter in the pans. Wash the pans between batches if necessary so the sides remain clean and the thin layers bake evenly.
4. Bake the Thin Cake Layers
Spread approximately ½ cup of batter into each prepared 9-inch pan.
The batter should form a very thin, even layer.
Bake at 375°F until lightly browned. Because these layers are thin, they bake much faster than a traditional cake layer, so keep a close eye on them.
When each layer is finished, remove it from the oven.
You can place the baked layers on a wire rack or on clean kitchen towels to cool. Another option is to begin assembling the cake as the layers come out of the oven.
Continue until you have 14 thin cake layers.
5. Assemble the Chocolate Layer Cake
Once you have your layers and the cooked chocolate frosting is cool enough to spread, it’s time to build the cake.
Place the first cake layer on your serving plate.
Spread a generous amount of chocolate frosting over the top.
Add another cake layer and repeat.
Continue stacking the layers, spreading frosting between each one.
Once all 14 layers have been stacked, spread the remaining frosting generously over the top and sides of the cake.
Let the cake sit for a while before serving so the frosting can settle into the layers.
Tips for Making the Best 14-Layer Chocolate Cake
Keep the layers thin
The signature of this cake is its many thin layers. About ½ cup of batter per 9-inch pan helps create the classic appearance and texture.
Don’t overbake the layers
You want the layers to be lightly browned, not dark or crispy. Because they’re so thin, they can go from perfectly baked to overdone quickly.
Make the frosting before the cake
This is one of the most useful tricks for this recipe. The cooked chocolate frosting needs time to cool, so preparing it first means it will be ready when you’re finished baking the layers.
Stir the frosting constantly
Once the frosting starts boiling, keep stirring while it cooks for the full 2 minutes. This helps prevent scorching and keeps the mixture smooth.
Don’t worry about thin frosting
The cooked frosting is supposed to be relatively thin. It isn’t a traditional thick buttercream. Its thin, fudgy consistency is part of what makes this old-fashioned cake so good.
Frequently Asked Questions
Why is my chocolate frosting thin?
This frosting is intentionally thinner than buttercream. The cooked mixture is designed to soak slightly into the thin cake layers and create a rich chocolate filling.
Can I use whole milk instead of “sweet milk”?
Yes. In old-fashioned Southern recipes, sweet milk simply means regular fresh milk, as opposed to buttermilk. Use whole milk for the richest result.
What size pans should I use?
The original recipe calls for 9-inch pans. You don’t necessarily need 14 pans—you can bake the layers in batches.
Can I make the cake with fewer layers?
Yes, although it won’t be the traditional 14-layer cake. The defining feature of this recipe is the many thin layers stacked with chocolate frosting.
How should I store the cake?
Because the frosting contains butter and evaporated milk, store leftovers covered according to your preferred food-safety practice. Allow refrigerated cake to sit briefly before serving so the layers and frosting can soften.